前言
如何通过selenium实现拖拽页面元素,接下来直接上代码,如下:
代码
from selenium import webdriver
import unittest
from selenium.webdriver import ActionChains
import time


class Test_dragpage(unittest.TestCase):
    def test_dragpageElement(self):
        url = 'http://jqueryui.com/resources/demos/draggable/scroll.html'
        self.driver = webdriver.Chrome()
        self.driver.get(url)
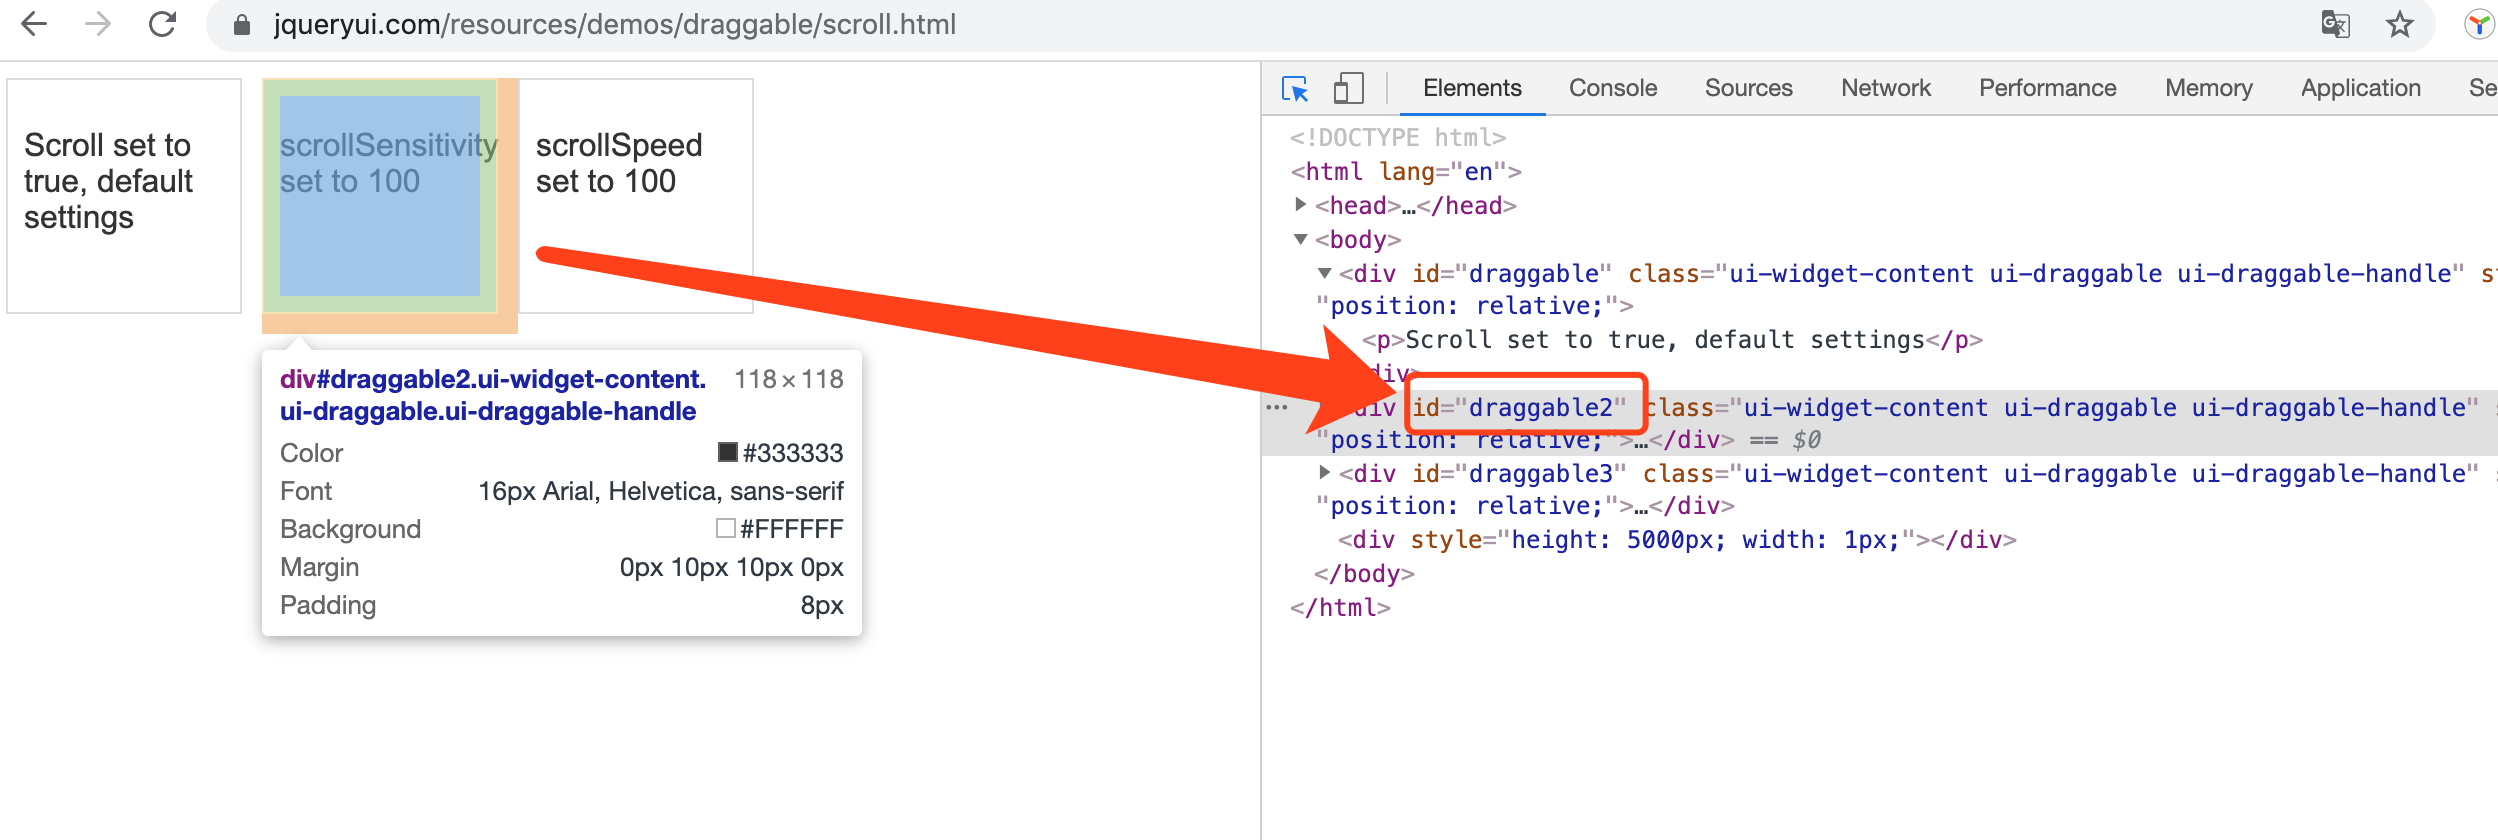
        # 获取第一,二,三能拖拽的元素
        drag1 = self.driver.find_element_by_id('draggable')
        drag2 = self.driver.find_element_by_id('draggable2')
        drag3 = self.driver.find_element_by_id('draggable3')

        # 创建一个新的ActionChains,将webdriver实例对driver作为参数值传入,然后通过WenDriver实例执行用户动作

        action_chains = ActionChains(self.driver)
        # 将页面上的第一个能被拖拽的元素拖拽到第二个元素位置
        action_chains.drag_and_drop(drag1, drag2).perform()

        # 将页面上的第三个能拖拽的元素,向右下拖动10个像素,共拖动5次
        for i in range(5):
            action_chains.drag_and_drop_by_offset(drag3, 10, 10).perform()
            time.sleep(2)


test1 = Test_dragpage()
test1.test_dragpageElement()

python爬虫之selenium--获取HTML源码断言和URL地址
python爬虫之selenium--设置浏览器的位置和高度宽度
python爬虫之selenium--页面元素是否可见和可操作

